Pixel graphics appeared at the very dawn of the gaming industry. Then computers did not have impressive performance and could not use higher-level graphics. With the growth of performance, the graphics in games also grew. 3D has arrived. And today at the presentation of the PlayStation 5, people are arguing whether the person in the frame is real or is it graphics? Are the pronounced pixels still relevant today, or are they now relics of the past?
A bit about Pixel art in general
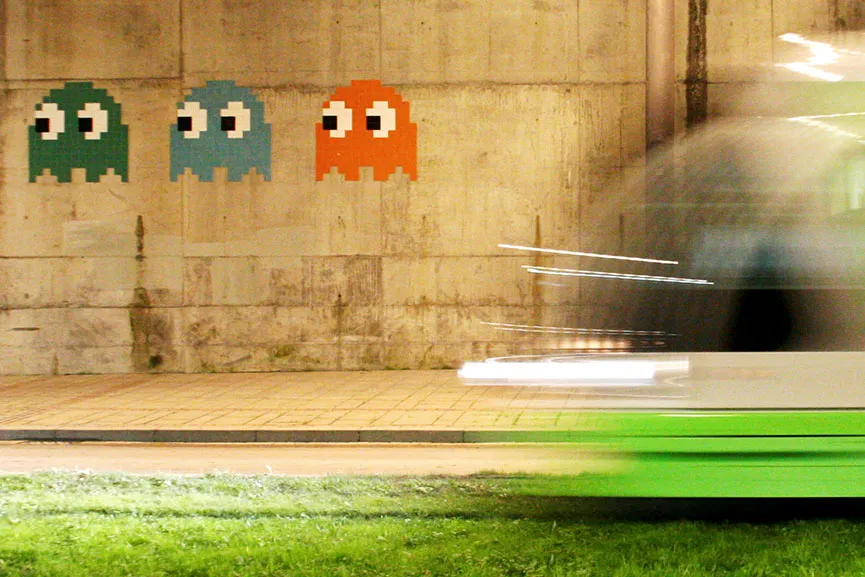
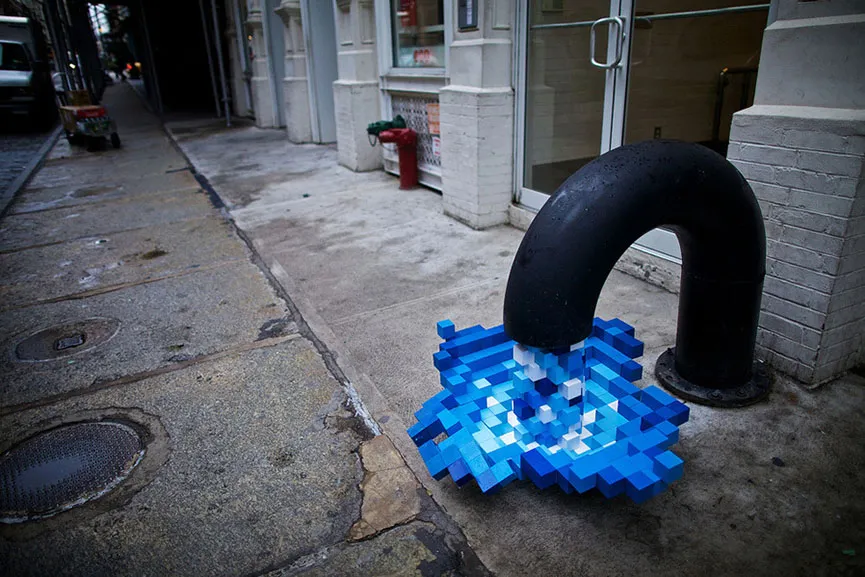
As mentioned above, the story has developed far from in favor of pixels. Scientific progress literally ruined this art form and left it only in narrow circles. But with the advent of phones, everything has changed. Again, not very productive devices appeared, and games need to be added there. Where the screen is low resolution, there are pixel graphics in games.
In modern realities, Pixel art has settled down thanks to the emergence of such a genre as indie and simply the wild success of MineCraft and Terraria games. Indie developers use pixel art because of the low entry threshold (learning how to create it is quite easy) and drawing speed (if the objects are not very detailed). And thanks to the games mentioned above, people are already used to such Pixel art and will treat the game loyally.
Creation
Let’s move on to creating Pixel art. Everything is very simple here and if you have ever built houses in MineCraft, you will quickly merge into pixel art. It is also worth mentioning that everything written below is only advice and recommendations, and in no way rules. If you get a great drawing, despite everything written below, then who cares about those words?
1) Programs for creating Pixel art
There are a huge number of different solutions aimed specifically at pixel art. Many of them are good, and some are even good and easy to use. But still, most of the artists give their preference to Photoshop. It is familiar and convenient, in fact, like all programs from Adobe.
2) Preparing Photoshop for work
Photoshop is a universal software, which means that it needs to be modified a little in different situations. First of all, you need to create a new document. You can set the settings in the same way as shown in the photo below …
On the created project, you need to prepare the grid. First, open the “View” window, find the “Show” item, turn on the grid and turn off the pixel grid. The standard pixel grid is not very convenient, so we will set up our own.
Let’s move on to the setup itself. Open the “Editing” window, find the “Settings” item at the very bottom of the window. In the window that opens, select “Guides, grid and fragments …”.
Next, set the main parameters, as shown in the photo below.
At the top left of the same window, select the “Basic” item. Set the image interpolation to “By Neighboring Pixels…”. Thus, our art will not be smoothed.
Also, in order for the white pixels to be clearly visible, on the layers panel, double-click on the background and make it a layer. Then press the key combination Ctrl + U. In the window that opens, set the brightness to about -32.
3) Key recommendations
I know you’re itching to get started, but don’t rush. In any case, you will have enough time for a couple of recommendations for a more beautiful drawing. Most often, after applying them, the drawing becomes more beautiful and more pleasant. In the end, we will analyze the creation process based on these recommendations.
● Do not make connecting pixels
For clarity, I drew a dollar in the photo below. Those connecting pixels are highlighted in red. Intuitively, it seems that they make the art smoother and therefore more beautiful. But often this is not the case.
● Remove kinks
Let’s continue on the same dollar. Kinks are pixels that are clearly out of order. They are marked in red in the photo. The dollar has not become incredibly beautiful, but now it looks smoother and neater. To avoid kinks, make the exit from the straight line to the rounding smoothly.
● Create a new layer
At the beginning of work, do not forget to create a new layer and work on it. No need to draw directly on the background. Also learn how to work with layers. This skill will greatly speed up and facilitate your work.
4) Creating a pixel trident
Finally, it’s time for the pixel art itself. Why a trident? In fact, he just first came to mind … Well, there are interesting moments in his form.
* The form
The shape is created with a regular black outline. At this stage, it is easy to make changes, since we have not done the color and everything else yet. An interesting aspect of the trident’s shape lies in its blades. As you can see, they end with a regular stroke. The same psychological moment operates here as with connecting pixels. It may seem that the stroke at the ends will be superfluous, but in fact it can fix the whole art…
* Color
At this stage, we simply select the main color, from which we will build on in subsequent stages. Select and fill in the entire form.
* Shadows
Here we need to decide on the position of the light source. After we select our main color, make it a little darker and draw shadows. It was also possible to create a shadow on the handle of the trident, but I did not do this. After all, the handle is too narrow (1 px, not counting the stroke) and with the position of the light source I took, it would be difficult to choose between a shadow and a highlight …
* Glare
You need to put them in the most illuminated places. To choose a color, we also take the main one, but make it not darker, but lighter. Glare should not be too noticeable, because then they will stand out from the overall picture.
* Stroke
We return to her. For interactive items, it is better to leave it. It can be made not black, but, for example, brown, as in the case of a trident. For non-interactive items (background things that cannot be interacted with), you can remove the stroke altogether.